
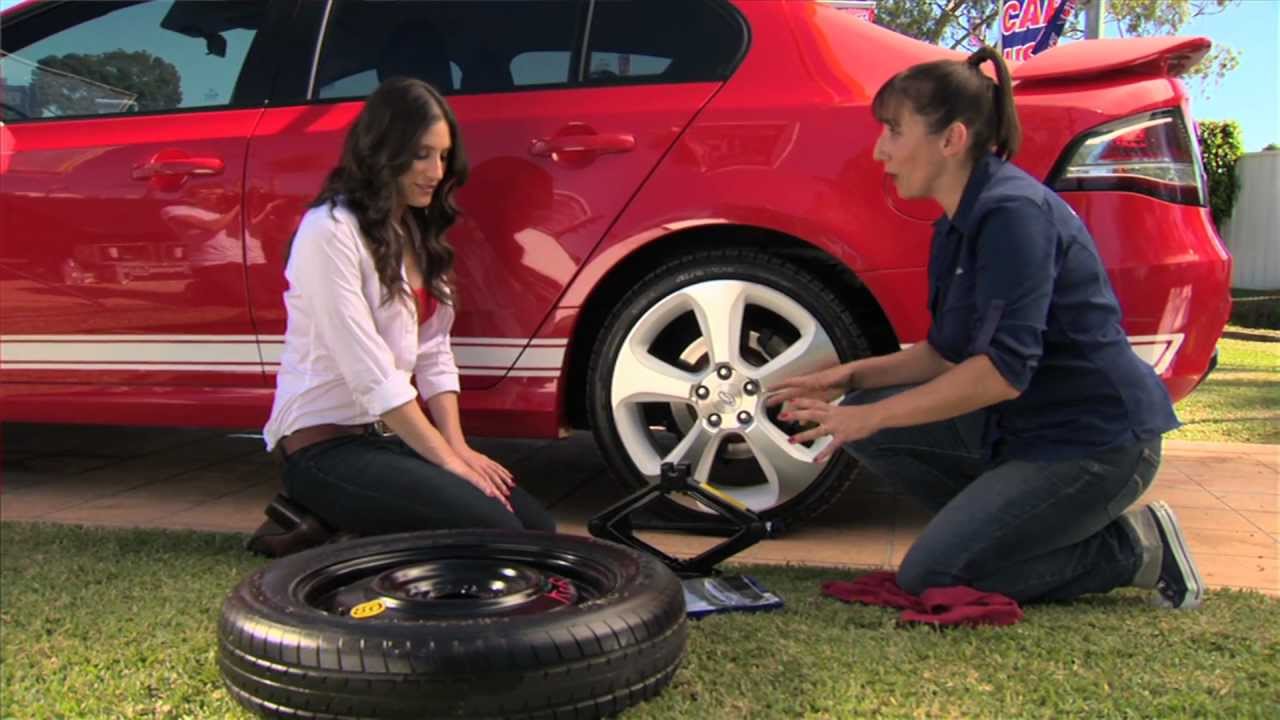
We all know the drama and inconvenience a flat tyre can cause. It feels like they always occur when you are running late for an important appointment and you simply don’t have the time to wait for Roadside Assistance to arrive to help and ultimatly you need to change the tyre yourself.
The below article (sourced from mynrma.com.au) will give you some hints and tips on how to change your own tyres. Remember if you need help with your tyres please contact the friendly team at Roadrunner Tyre Service on 07 5536 1400
1. Safety first
Flat tyres always seem to happen in inconvenient places, so make sure you pull over in a safe area, clear of passing traffic, and on a surface that is hard and flat to change it. You should also turn on your car’s hazard lights. Ensure the car is in ‘park’ and apply the handbrake. As an extra safety measure, place a chock (a piece of wood or a brick) under one of the wheels on the opposite side of the car to the flat tyre.
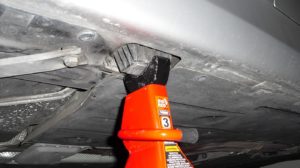
2. Use the right equipment
You will need a jack and a wheel brace to replace your flat tyre, both of which should be in the car’s boot. Once you have located them, get down on your knees and look for small notches or grooves on the underside of your car (see image below) – this is where you need to place the jack. Remember, the jack needs a hard surface under it. If you have pulled over onto soft ground, place a solid object underneath the jack.
Once the jack is in place, slowly turn the handle until you remove some of the car’s weight from the flat tyre.
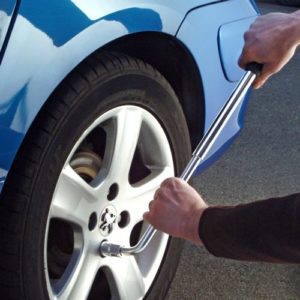
3. Loosen the wheel nuts
This is the point at which technique becomes more important than brute strength. Place the wheel brace on one of the wheel nuts (see image below) and, with a straight arm and a straight back, ‘crack’ each of the wheel nuts in turn in an anti-clockwise direction (looking at the wheel). You can use your foot on the wheel brace if the brace is a good fit on the nuts and doesn’t slip off.
Keep the wheel brace horizontal to the ground and you’ll find that your body weight alone is adequate to loosen the wheel nuts. Now, use the jack to lift the car up so that it is someway off the ground to accommodate the fully inflated tyre.
4. Remove the wheel
You should now be able to remove the wheel nuts one by one and gently lift the wheel from the car. If the wheel will not come free, it could be that corrosion has caused the wheel to stick. If this happens, put one nut back on the wheel and give the wheel a kick in order to free it.
5. Replace the wheel
Remove your spare wheel from the boot and place it against the car’s wheel assembly. By lining up the wheels’ holes first, it will make it easier to lift the wheel straight onto the car. Then tighten all the wheel nuts by hand. If you tighten the bottom nut first, it will hold the wheel in place. Using the wheel brace, give all the wheel nuts a small ‘nip’ to tighten them. The idea is not to tighten the nuts completely at this point because the car is not completely stable while it is still on the jack.
6. Remove the jack
Unwind the jack slowly until the new wheel takes the weight of the car and then remove it. Remember to keep a straight arm and back, and with the wheel brace horizontal to the ground, use the weight of your body to tighten all of the wheel nuts.
Points to remember
- You don’t need to be a front-row forward to change a tyre successfully. Use your body weight rather than the strength of your arms to loosen and tighten the wheel nuts.
- When you place your flat tyre in the boot, remember to secure it to the car. Leaving an unrestrained tyre to slide around can be dangerous.
Need help changing a tyre? Call us on 07 5536 1400